User:Mdlibunao
From ADempiere
This Wiki is read-only for reference purposes to avoid broken links.
|
Contents
Currently Doing
- New window and posting process for rebates
To Do
- Adempiere Implementation
Adempiere OSGi Hengsin Setup / Eclipse
My Environment
Operating System
- Open Suse Linux 11.4 64bit
Java Version
- Java 1.6.0_26
Database
- Postgresql 9.0.3
Eclipse
- Eclipse IDE for JAVA EE Developers(Indigo) SR1 64bit
Notes when setting up
- Make sure all necessary plug-ins needed are installed. All the plugins can be installed using the p2 repo.(Eclipse Indigo)
- Mercurial Eclipse(optional needed when cloning, updating, committing the source)
- GEF Zest 1.3.0(If you're using Eclipse Indigo this update site is already registered in the available site you just need to enable it.)
- Buckminster(If you're using Eclipse Helios use v3.6 instead of 3.7. I got a problem when I tested helios with the latest buckminster)
- After setting up Eclipse IDE. Just follow the tutorials below. They are both very useful.
Tutorials Followed
Enabling Sales Promotion
To enable sales promotion add org.adempiere.model.PromotionValidator in Model Validation Classes field in client window
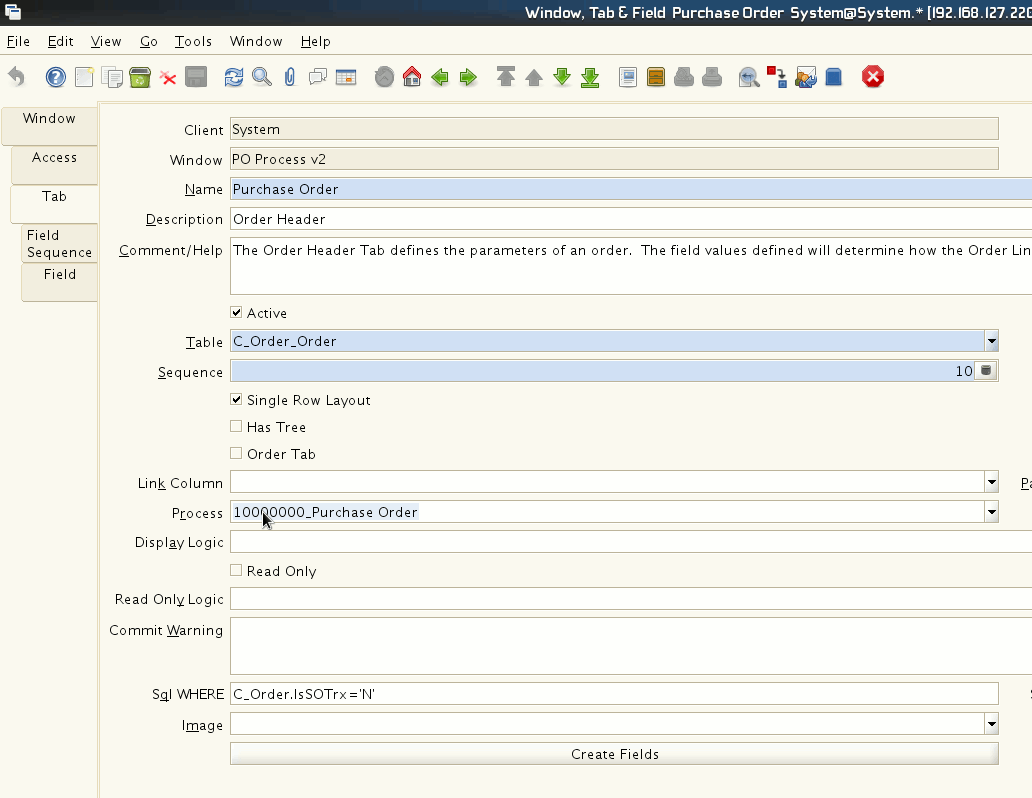
Changing Default Report/Print Preview of a window
- Easily change the default report of a window by changing the process field with your report process under window -> tab
2Pack - PackIn & PackOut Tutorial
Simple walk-through on using 2Pack [AdempierePackInPackOut Tutorial]
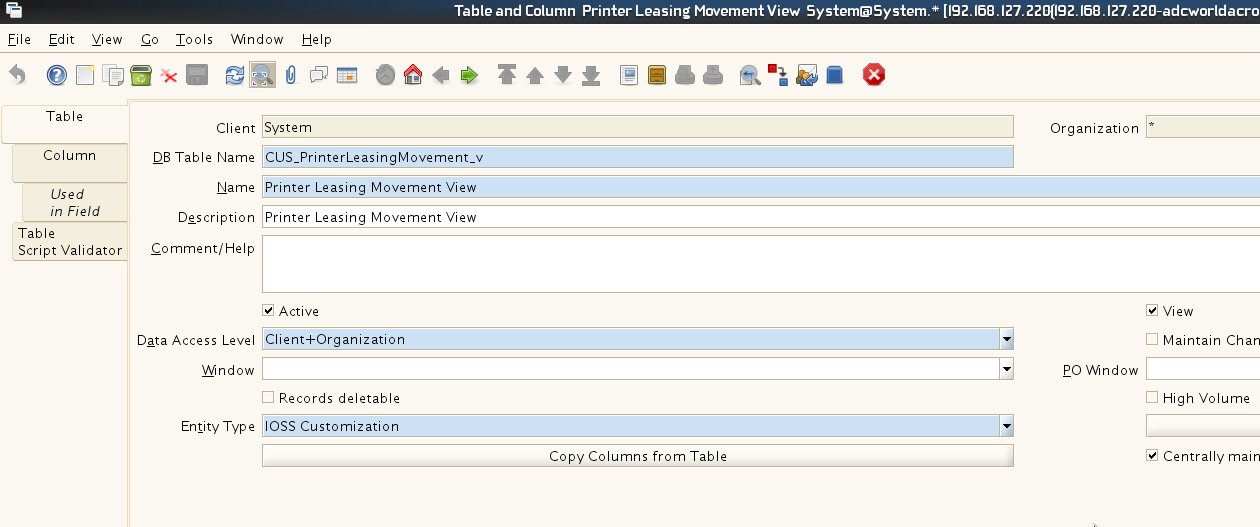
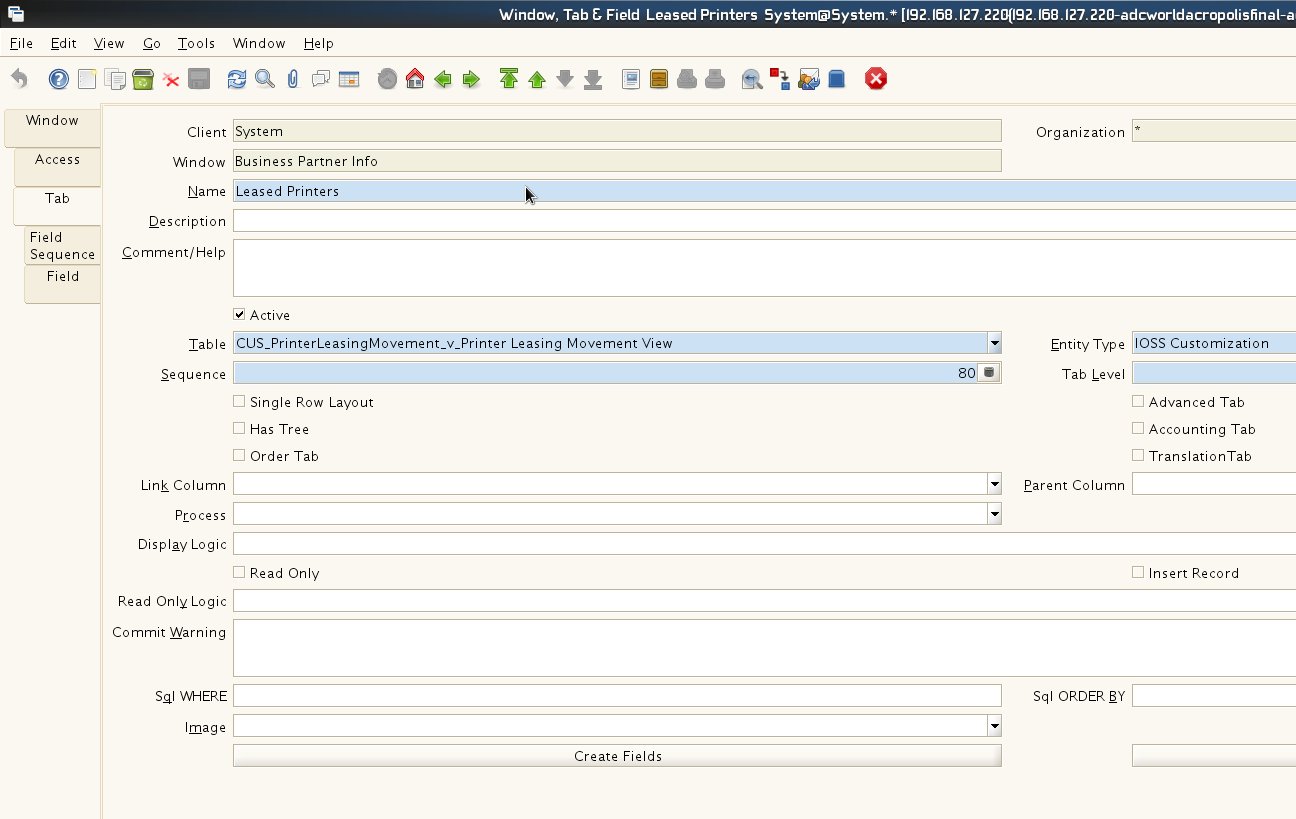
Create a window tab with a View table(postgresql)
Creating a tab to view records with your customized sql is relatively easy. Here is a quick tutorial.
- Create your view table in postgresql. I used phppgadmin to create one.
- After Creating your view table. Create a new Table in Adempiere and tick on the view checkbox
- Create the tab pointing to the new table created. Thats it you may now view your data with the sql you created from the view.


