ManPageX InitialClientSetup
Enjoy it, and help to fill it! But please, always respecting copyright.
Please write your contributions under the Contributions Section
ManPageX InitialClientSetup olh
Contributions
The article was lost :(
I'm rewriting now....  I hope to finish it soon - Thanks - Alejandro

                   WORK IN PROGRESS - PLEASE DON'T MODIFY
Summary
The first step that you must do is create a new Client, Organization, Users, etc. into ADempiere. It's configure your system with the initial parameters. We will take a look into the process to do it.
Introduction
The Client is the highest level of an independent business entity. Each Client will have one or more Organizations reporting to it. Each Client defines the accounting parameters (Accounting Schema, Tree definition, Non Monetary UOM's).
ADempiere have two clients predefined. The first is the System Client, which you will use to add your Client and configure your system. The second client, you can use for testing proposed, and have some datas inserted (as Business Partners, Products, Banks accounts, etc.).
Beginning the Implementation
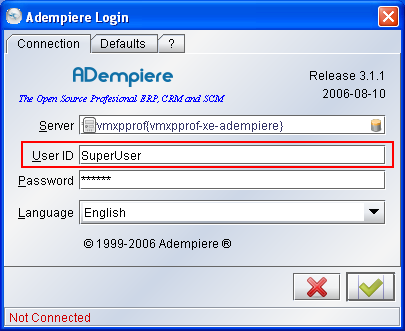
Login into ADempiere with the System or SuperUser User,
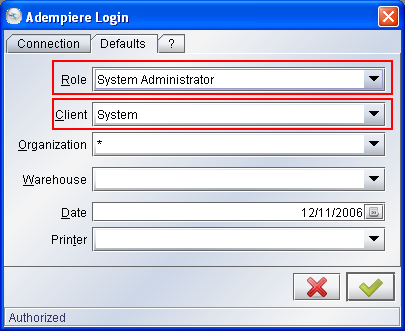
System Administrator Role and System as Client
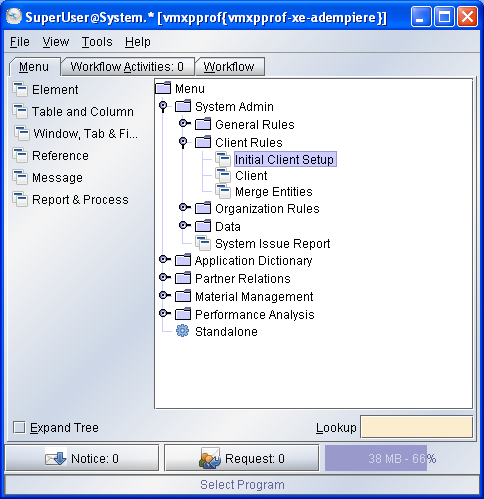
Go to Initial Client Setup window:
and open:
... and fill the fields with your datas.
Some of those fields are:
Client: is the name of your company, we filled with YourClient.
Organization: is often a legal entity or sub-unit for which documents and transactions are processed. By example, we filled with YourOrganization; you may define others organization in a later time. Often, in small companies the Client and the Organization are the same.
User Client and User Organization are the initial users that will be enabled to login into the system.
Leave the Business Partner and the Product checkboxes checked and the others unchecked. Those selection will be used to define the Accounting Schema. After, if you want, you can change these setting, by example to add Sales Region, Projects, etc.


