Launching the ADempiere Application
⇐ Table of Contents{{#if: Getting Started| | Getting Started }}{{#if: InstallComplete| | InstallComplete }}{{#if: | | [[{{{4}}}]] }}{{#if: | | [[{{{5}}}]] }} | Launching the ADempiere Application{{#if: Logging In to the Client| | Logging In to the Client }} ⇒
| This article may require cleanup to meet the Wiki Documents standards. It may contain obsolete information or is in need of organization. Please improve this page if you can. |
The ADempiere Application runs as a client that communicates with the ADempiere Application Server. It can run on the server, on a remote machine or via a web interface. This article describes how to install the client software and launch the client application.
Contents
Prerequisites
Before running the client, ensure the the ADempiere Application Server is running on the Server computer. See Launching the Application Server for details.
Each client/remote computer will need to have Java installed Visit http://www.java.com to download and install the latest version.
Installing the ADempiere Client
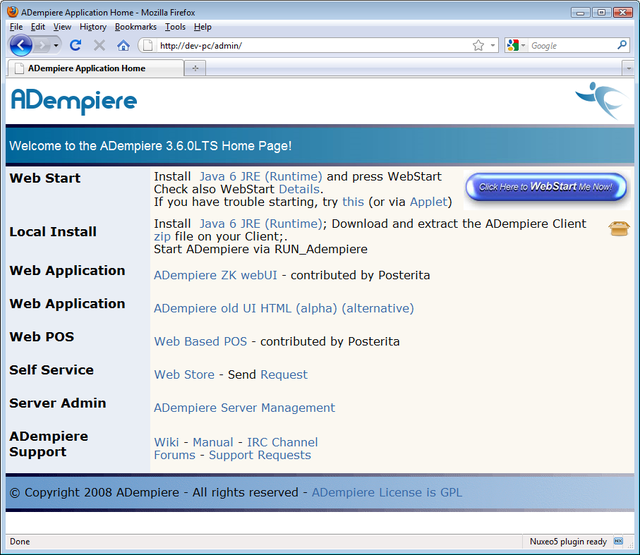
To access the ADempiere Application Server from a browser, point your browser to your server URL (http://<your server name, IP or URL>:<your port number>/admin e.g. http://myservername:8080/admin)
To install the ADempiere client on a remote computer, you have two options:
Option 1: Web Start
The WebStart option automatically makes sure that the client computer will use the latest version. This is very handy in large installations as you will only need to update the software on the server and all the clients will automatically update their local copies the next time the client is launched.
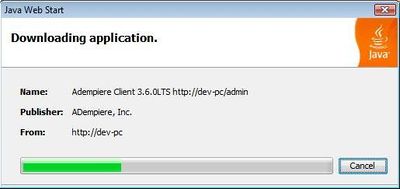
- From the Application Server web page, click on the WebStart button and you will see the WebStart Dialog:
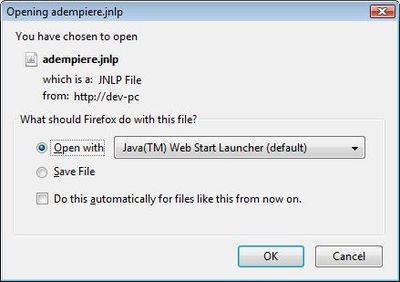
- You may need to associate the jnlp file which the WebStart uses with the appropriate java application. If so you will see a window like the one below. Click on "Do this automatically for files like this from now on.":

Note: If you mis-associate the jnlp file with another application, the WebStart functionality won't work. You can change the association in your control panel.
- Then you will see the Security window. Click on "Always trust content from this publisher.":
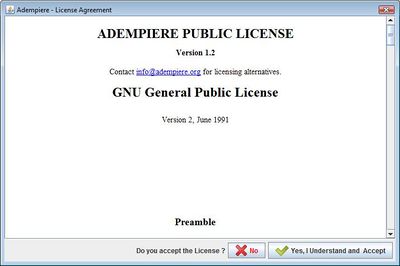
- The very first time the application starts, you will see a license dialog.
- The application will start once you accept the license terms. Move on to Logging In to the Client
Option 2: Local Install
A local install makes a local copy of the client software that is not automatically updated. In order to perform the Local Install:
- click on the zip link and
- extract the file content to a local directory.
Refer to the Manual Installation Instructions for your operating system as the installation process is similar to the installation of the server software. Specifically, you will need to set the following system environment variables:
- JAVA_HOME
- ADEMPIERE_HOME
- PATH
Start the ADempiere Client
Start the ADempiere Client via the script RUN_Adempiere (.bat or .sh) . Then you will see the ADempiere Login window:
Troubleshooting Tips
If you did not set the environment variables, you might receive an error message with the JAVA_HOME or ADEMPIERE_HOME variables as not been set.
Windows...
- Set the JAVA_HOME system environment variable to your java installation directory e.g. C:\jdk1.5.0_05
- Set the ADEMPIERE_HOME system environment variable to C:\Adempiere
Linux...
- Set the JAVA_HOME system environment variable to /usr/lib/jvm/java-6-sun/jre if that's where your java is.
For Debian based systems do this to check
ls -l /etc/alternatives/java
Use this command
export JAVA_HOME=/usr/lib/jvm/java-6-sun/jre
You can also set this in ~/.bashrc so it is set on each login.
- Set the ADEMPIERE_HOME system environment variable to /opt/Adempiere if that is the local directory you unzipped to.
- Make the shell script that starts Adempiere client runable, by giving it the eXecute attribute for All users.
chmod a+x /opt/Adempiere/RUN_Adempiere.sh
- Add %JAVA_HOME%\bin;%ADEMPIER_HOME%\lib; to your PATH system environment variable.


