Difference between revisions of "Launching the ADempiere Application"
m (Spelling correction.) |
|||
| Line 2: | Line 2: | ||
*Further requests for assistance please direct to the [http://sourceforge.net/forum/forum.php?forum_id=610547 HELP Forum]. This wiki provides only written and publishable support. | *Further requests for assistance please direct to the [http://sourceforge.net/forum/forum.php?forum_id=610547 HELP Forum]. This wiki provides only written and publishable support. | ||
| − | *Further private, local, or commercial assistance can be sought at [[World-wide Directory]] where consultants all over register themselves. The | + | *Further private, local, or commercial assistance can be sought at [[World-wide Directory]] where consultants all over register themselves. The fees charged are up to the respective consultants and under their own responsibility or control. |
*Please adhere to our bazaar [[etiquette]] to enjoy better support from us. | *Please adhere to our bazaar [[etiquette]] to enjoy better support from us. | ||
Revision as of 01:27, 22 June 2007
Contents
README
- Further requests for assistance please direct to the HELP Forum. This wiki provides only written and publishable support.
- Further private, local, or commercial assistance can be sought at World-wide Directory where consultants all over register themselves. The fees charged are up to the respective consultants and under their own responsibility or control.
- Please adhere to our bazaar etiquette to enjoy better support from us.
Introduction
- This Install Client HELP is for setting up Clients as in any Client-Server system. It allows the application to run from a client or a remote PC connected to the application-server.
- The term Client also means the Business Entity using the ERP System. If you want to learn how to set that, you can refer to Initial Client Setup.
Installing the ADempiere Client
If you are in the server you can just run the HTML Client, as it is installed in the Server Install process. Once you have the Application Server (utils/RUN_Server2.bat|sh) running,
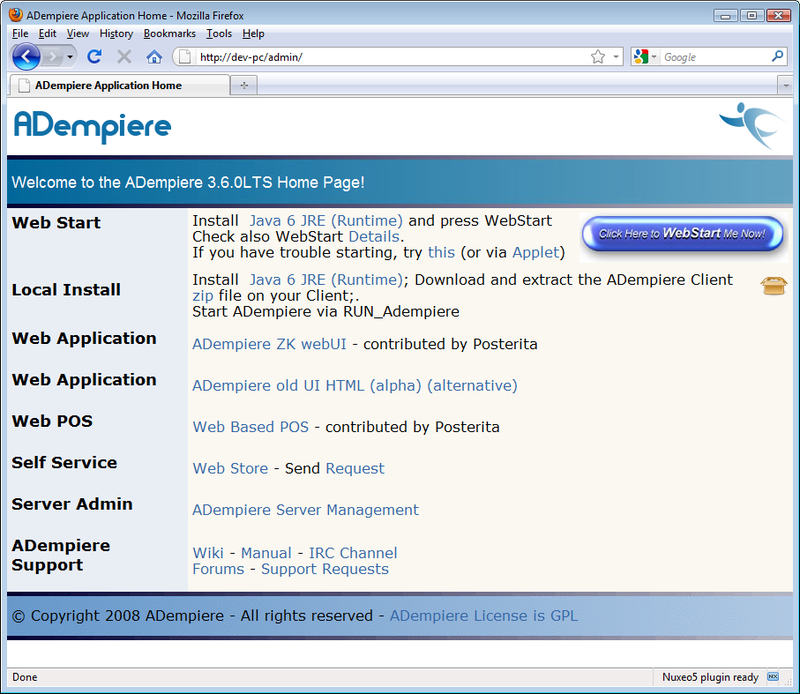
- point your browser to your application server (http://localhost/admin):
So, you have two options:
Option 1: Web Start
Note: You need to have Java installed before this
This WebStart option automatically makes sure that you use the latest version.
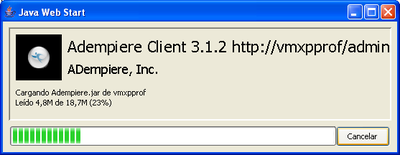
- Just click on the WebStart button and you see the WebStart Dialog:
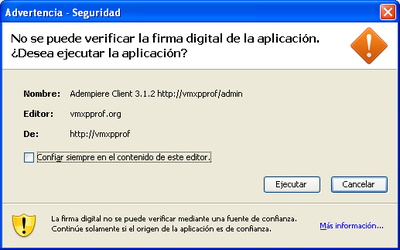
then you will see the Security window:
- after you check it, the application start.
Option 2: Local Install
In order to Local Install ,
- click on the zip link and
- extract the file content to a local directory.
You need to have setted the system environment variables:
- JAVA_HOME
- ADEMPIERE_HOME
- PATH
You can set it manually, by example:
- Set the JAVA_HOME systema environment variable to C:\jdk1.5.0_05
- Set the ADEMPIERE_HOME system environment variable to C:\Adempiere
- Add C:\jdk1.5.0_05\bin;C:\Adempiere\lib; at the beginning of the PATH system environment variable.
If you did not set those variables, you might receive an error message with the JAVA_HOME or ADEMPIERE_HOME variables as not been set. So, just make sure that you do the steps above.
Start the ADempiere Client
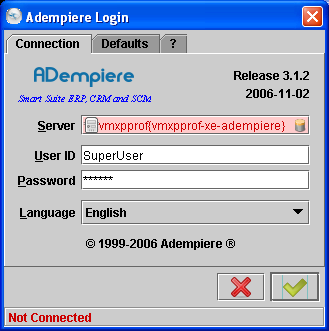
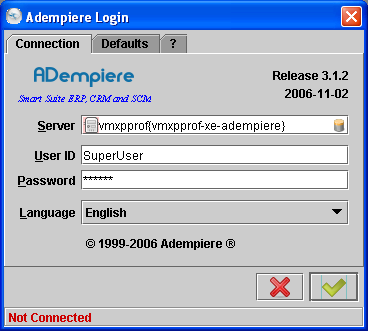
- Start the ADempiere Client via the script RUN_Adempiere (.bat or .sh) . Then you will see the ADempiere Login window:
- There you shall see that the server field is in red backlight
- this is due to default validate connection on startup option that is defaulted to off.
- The option is a new feature in ADempiere 312 onwards where the user saves time during login.
- It is defaulted to off. You can check this option back on in the Preferences window.
- this is due to default validate connection on startup option that is defaulted to off.
- You may proceed by clicking on the OK sign.
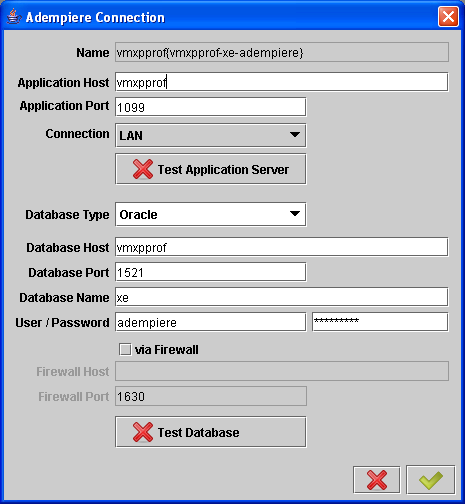
- or press the Host/Server field and you can see the Connection dialog:
Now you must enter the Application Host name and the Application Port (default is 1099).
- Press the Test Application Server button.
If the application server is found, then information like the database server is returned.
- If the application server is not running, then
- enter the Database Host/server name,
- database name,
- the user name and
- the database password.
(Please check here for more detail info). After you filled up the fields,
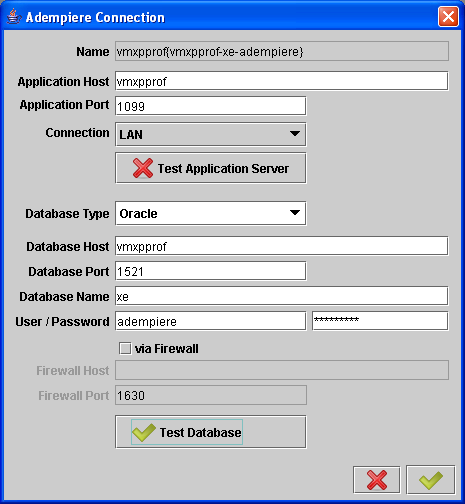
- press the Test Database button to connect:
You will see the Ok icon (in green) if the connection was successful.
- Click the Ok button to get back to the Login screen:
If the Host information is all white, you connected to the application server. If the left side is a bit red, you connected to the database, but not to the application server (the case in our example). For default Application Users and Passwords see here.
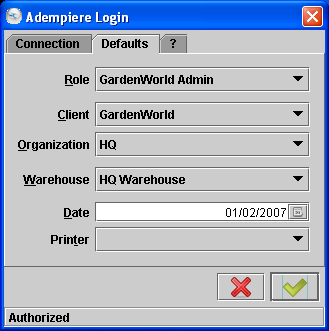
- Click the Ok button to see the Login Default tab
and then you can select the Role, Client and Organization.
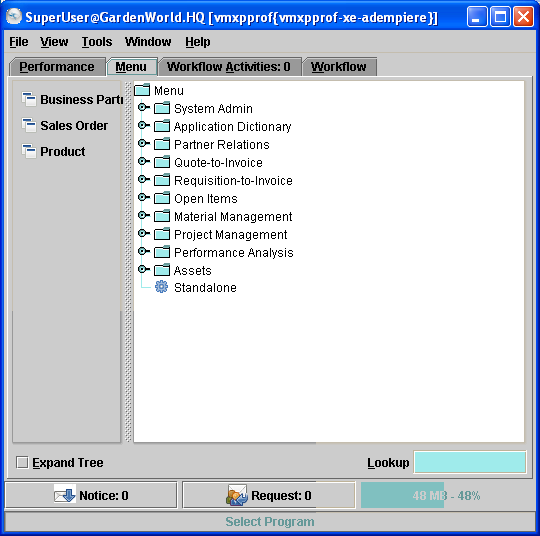
- Press the Ok button and you will see the ADempiere menu:
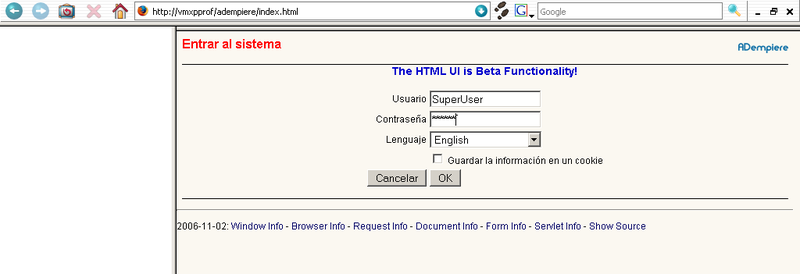
The Adempiere Web Application Login (alternative)
You can login into the HTML client alternative via the ADempiere Web Application. To do it,
- click the Web Application link to start the HTML client.
The process is the same as with the Application Client.
Note: The HTML UI is Beta Functionality.
Links
- Initial Client Setup For Business Client Setup in ADempiere.
- Server Setup that happened earlier.
- Installing ADempiere Tutorial on how to setup and configure ADempiere.
- Tutorials on many things from basic to advanced.
