Dunning Setup
Contents
How to setup a multi level dunning in ADempiere
What and why?
ADempiere offers some features for dunning. You can define multiple dunning types each with several levels which are linked to business partners or business partner groups. A dunning run collects the due unpaid invoices that should be dunned and the 'print dunning letters' process prints all dunning letters of a dunning run.
Define a dunning type with two levels
- Login as client admin.
- Go to Partner Relations -> Business Partner Rules -> Dunning.
- Create a new entry (Default Dunning) and check at least the 'Default' checkbox.
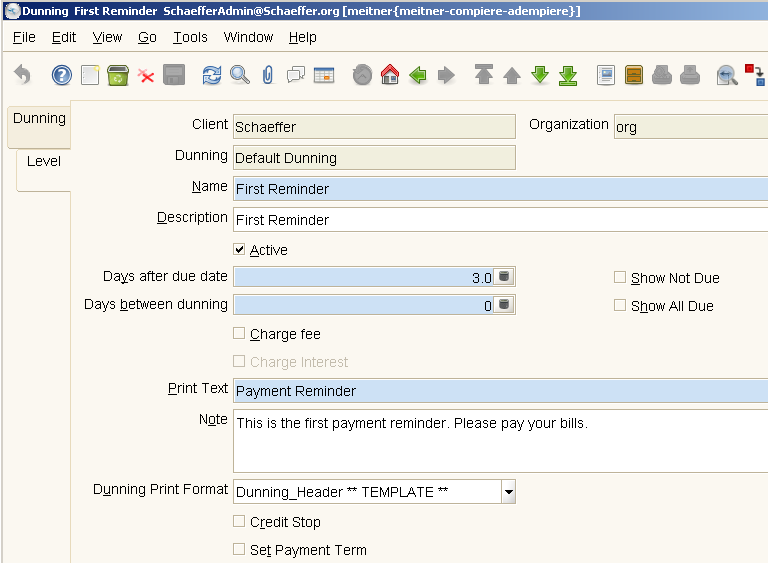
- Create a new dunning level (First Reminder). Make sure to select a 'Dunning Print Format and be careful with the 'Days between dunning' field at your first dunning level:
If you uncheck the 'Show all due' and 'Show not due' flags and set the 'Days between dunning' greater then '0' the system will never generate dunning letters because the method DunningRunCreate.addInvoices() performs this check where DaysAfterLast will allways be '0' for not yet dunned invoices:
if (DaysBetweenDunning != 0 && DaysAfterLast < DaysBetweenDunning && !m_level.isShowAllDue () && !m_level.isShowNotDue ()) continue;
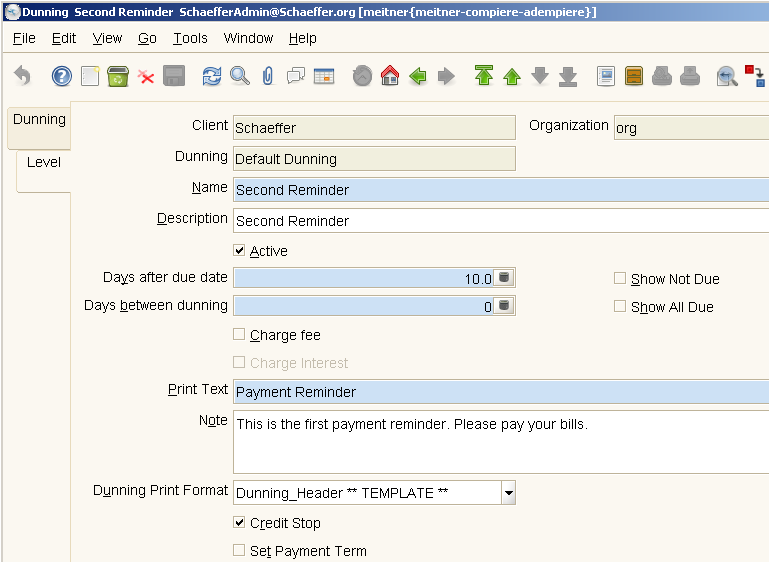
- Create a second dunning level (Second Reminder).
Set the dunning type for your business partners
- Go to Partner Relations -> Business Partner Rules -> Business Partner.
- Select a customer.
- Open the 'Customer' tabulator and select the new created dunning type from the 'Dunning' drop down.
- To set the default dunning type for all customers for the first client (AD_Client_ID=1000000) you can run this sql statement:
  UPDATE C_BPartner SET C_Dunning_ID=
  (SELECT MAX(C_Dunning_ID) FROM C_Dunning WHERE IsDefault='Y' AND AD_Client_ID=1000000)
  WHERE IsCustomer='Y' AND AD_Client_ID=1000000;
Create the dunning runs
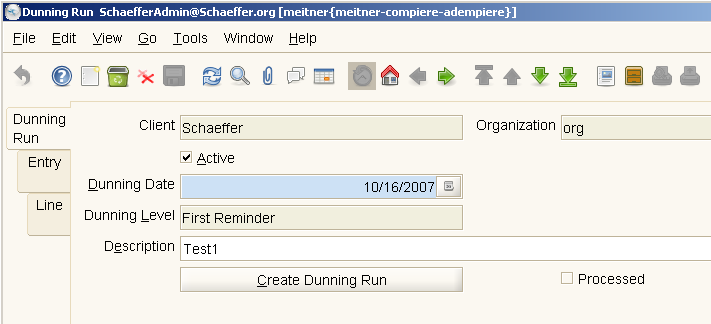
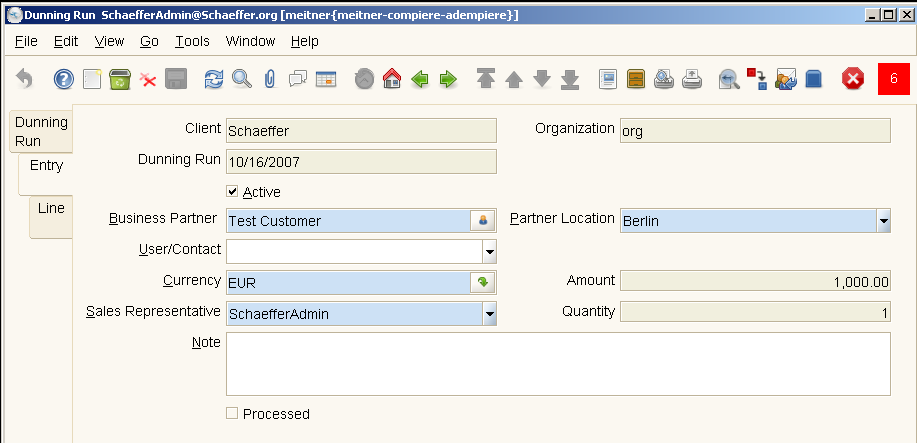
- Go to Open Items -> Dunning Run and create a new entry for each of your dunning levels (First Reminder and Second Reminder).
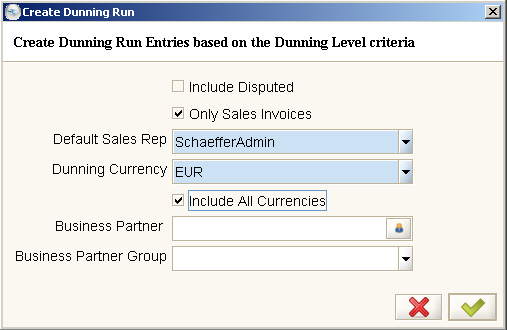
- Select the dunning run entry for the first dunning level, enter a dunning date and push the 'Create dunning run' button.
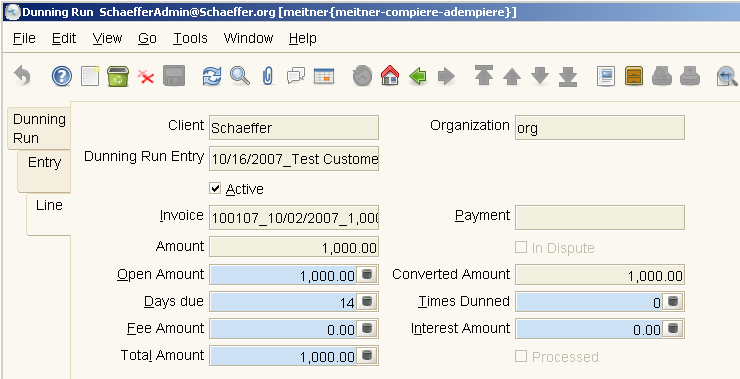
- Press the 'OK' button, this will create the dunning entries and lines.
- Zoom to a dunned invoice. You will notice that the collection status is set to 'Dunning' and the dunning level is set to 'First Reminder'.
- Before we can proceed with the dunning run for the second dunning level (Second Reminder) we first have to print the dunning letters of the first dunning run. We have to do this because the dunning print process sets the 'processed' flag for the printed dunning lines and that is the only indicator for the system that a certain invoice already has been dunned.
It is not possible to reuse dunning runs (e.g. every week) because the information about the dunning status of an invoice is taken from the existing dunning runs. If you delete the entries of a dunning run the system doesn't know anymore that the invoice has been dunned!
Print the dunning letters
- Go to Open Items -> Print Dunning Letters.
- Select a dunning run from the dropdown list.
- Press the 'Start' button. The dunning letters are printed and the 'processed' flag is set for the dunning run and it's entries. You now can proceed with the second dunning level.

