Difference between revisions of "ADempiere Installation"
(→ADempiereERP Installation) |
(→ADempiereERP Installation) |
||
| Line 181: | Line 181: | ||
* You can use gzipped, tar or zipped file in any environment by using the appropriate decompressing tool. | * You can use gzipped, tar or zipped file in any environment by using the appropriate decompressing tool. | ||
* Now Uncompress Adempiere.tar.gz or Adempiere.zip to your directory for example 'C:\' and run the 'C:\Adempiere\RUN_Setup.bat' to setup the Adempiere application server. | * Now Uncompress Adempiere.tar.gz or Adempiere.zip to your directory for example 'C:\' and run the 'C:\Adempiere\RUN_Setup.bat' to setup the Adempiere application server. | ||
| + | |||
| + | |||
| + | [[Image:run_setup.PNG]] | ||
| + | |||
| + | * When run the setup script the above console window will open to show the server installation progress. | ||
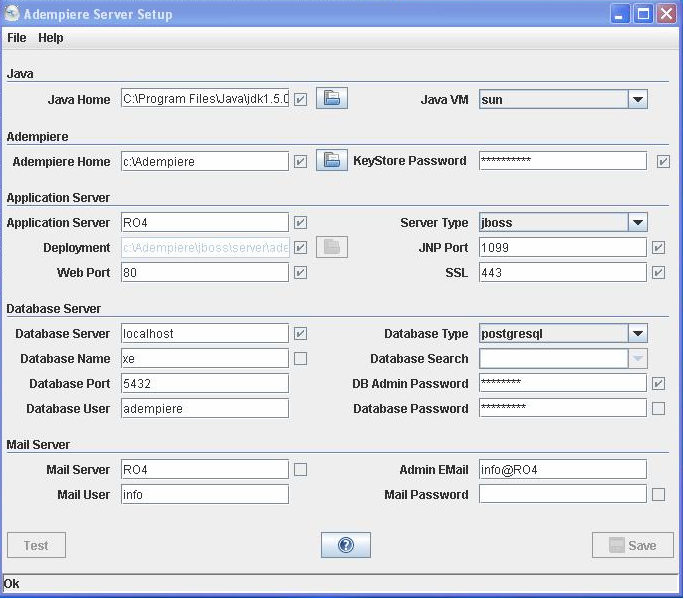
| + | * The following server setup window will open for server configuration. | ||
| + | |||
| + | |||
| + | [[Image:server_conf.PNG]] | ||
| + | |||
| + | * System will open the above window for server configuration. | ||
| + | |||
| + | |||
| + | [[Image:server_conf2.PNG]] | ||
| + | |||
| + | * Here enter 'localhost' in the 'Database Server' field, select 'postgresql' in the 'Database Type' field and enter 'postgres' in 'DB Admin Password' field and press test button. | ||
==See Also== | ==See Also== | ||
Revision as of 02:59, 29 May 2009
Contents
AdempiereERP, JDK and PostgreSQL Step by Step Installation Guide for Windows
contributed by VOSS Com (Virtual University (of Pakistan) Open Source Software Community)
VOSS Com AdempiereERP installation guide is a complete, comprehensive and sequential installation guide of AdempiereERP and its pre-requisites for Windows platform. The unique and prominent feature of this installation guide is that it has information to install all components or prerequisites of AdempiereERP in a single file.
Pre-Requisites
JDK Installation
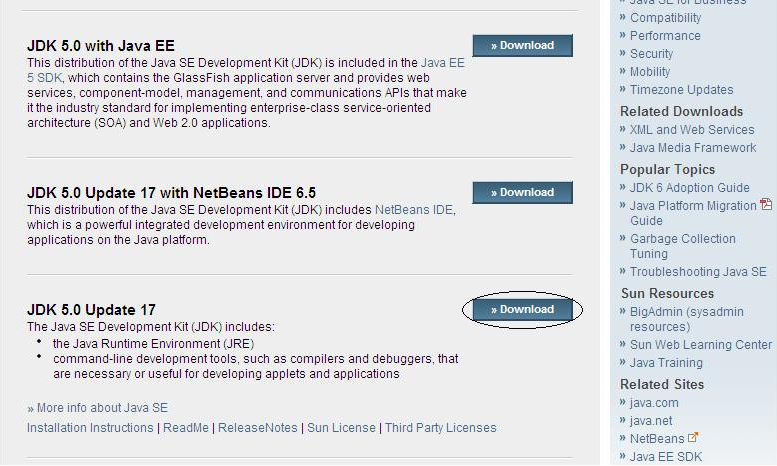
Download link: http://java.sun.com/javase/downloads/index_jdk5.jsp
- Select available version of JDK 5.0 (e.g JDK 5.0 update 17) and click the Download button as displayed above.
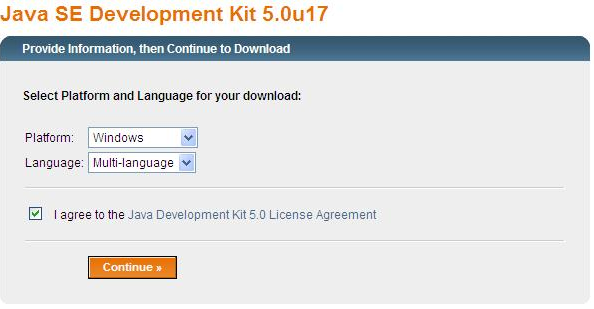
- Select the above options and click “Continue” button.
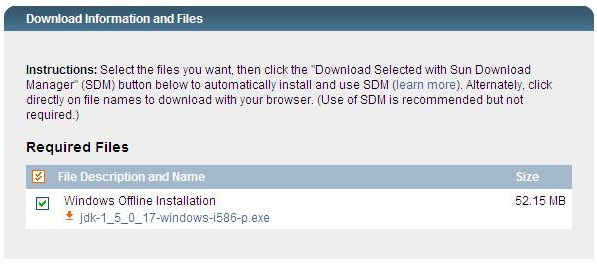
- Select the link and it will download the file to the system.
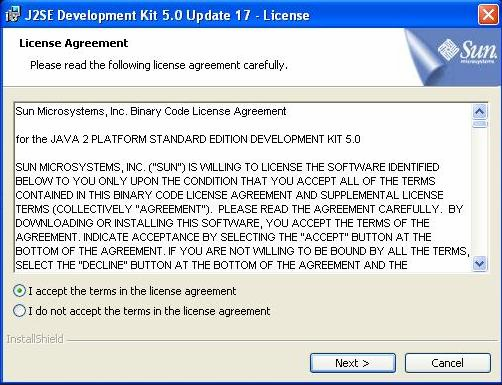
- When you will run JDK setup above license agreement window will open. Read and select “I accept the terms in the license agreement” and press next button.
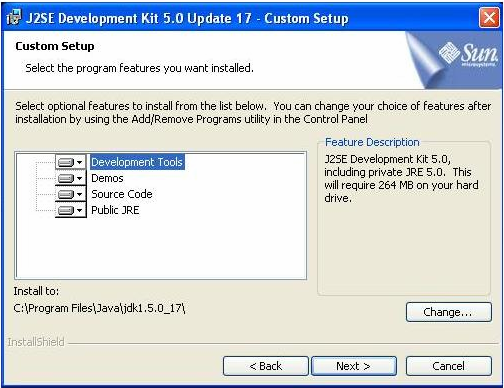
- When user will select the next button after accepting the license agreement above ‘Custom Setup’ window will open where user can select different component which he wants to install, here user will simply press next button.
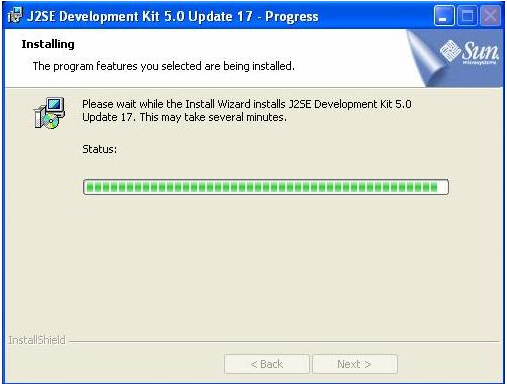
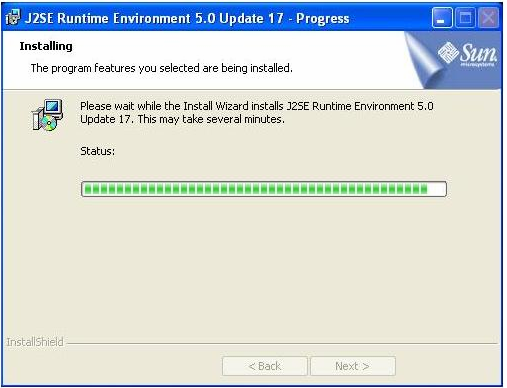
- Above window will open. Here setup will install selected JDK components.
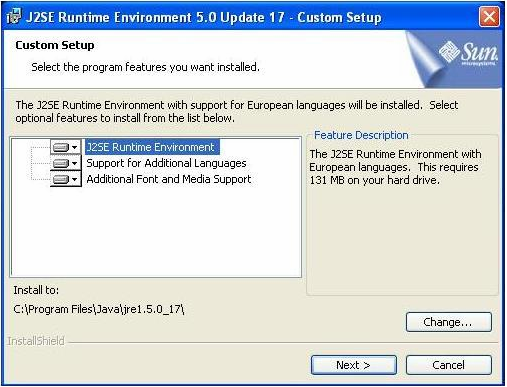
- After installing the selected JDK components system will open above window where user can select JRE components which user wants to install. In our case user will simply select next button.
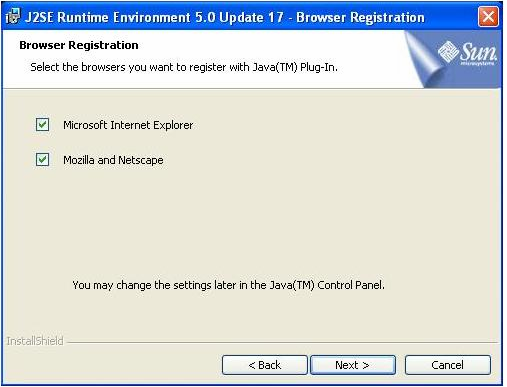
- Setup will open the above window, here user will select the desired options and will press next button.
- On this step setup will install the selected JRE components.
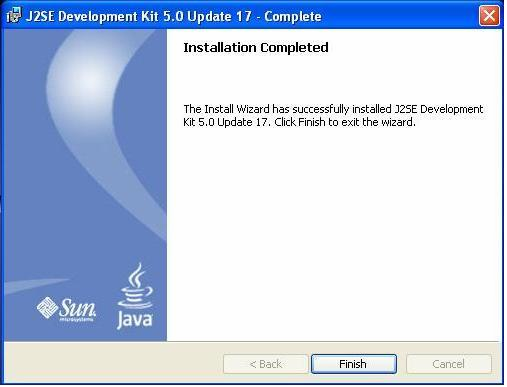
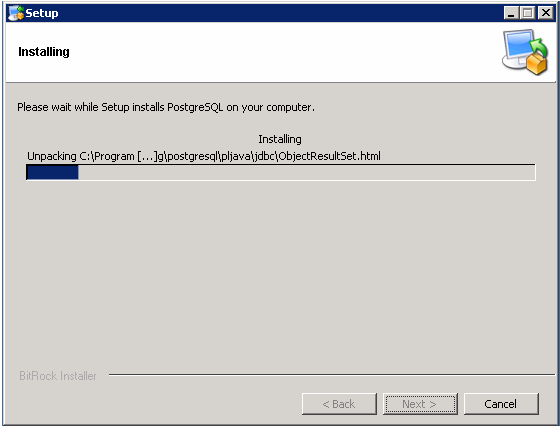
- After installing the selected JRE components, above setup completion dialog will open. User will press the ‘Finish’ button.
PostgreSQL Installation
Download link: http://downloads.enterprisedb.com/postgresql/postgresql-8.3.7-1-windows.exe
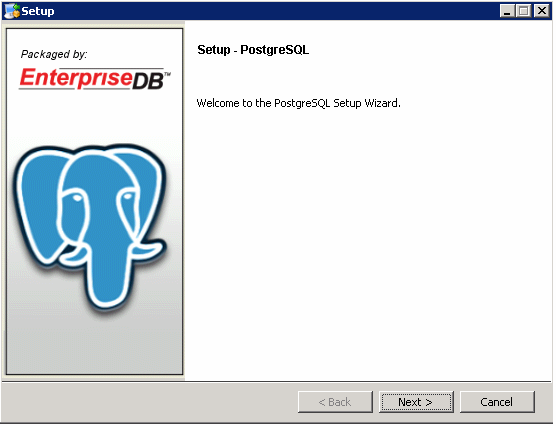
- When user will run the PostgreSQL setup above window will open. User will press next button.
- When user will select next button above installation Directory window will open. Here user will simply select next button.
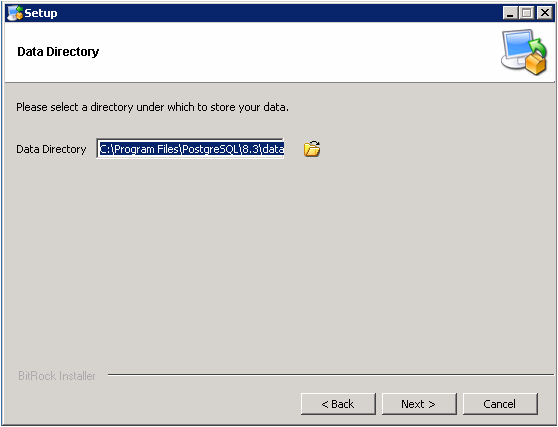
- After installation directory window system will open data directory window to specify the directory structure for postgresql data.
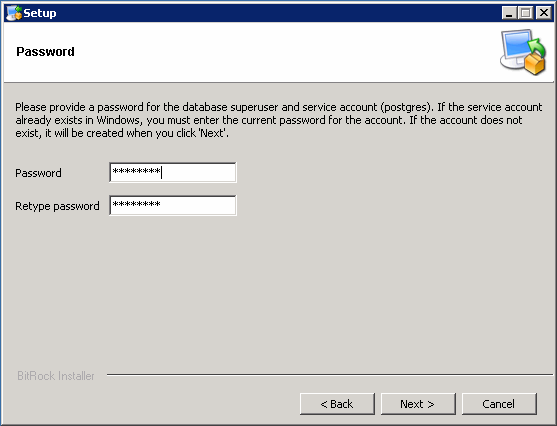
- Now user will enter “postgres” as the password for database super user and service account.
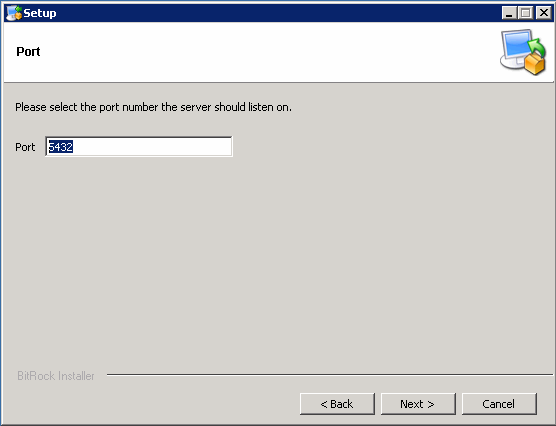
- Now user will enter the port number which will be used by the postgresql in our case it will be '5432'.
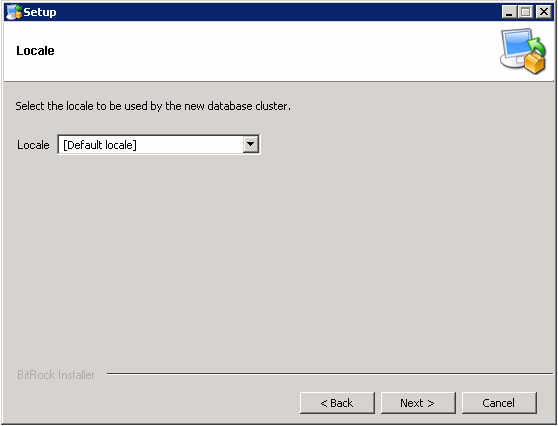
- Now on the “Locale” user make no changes and will select next button.
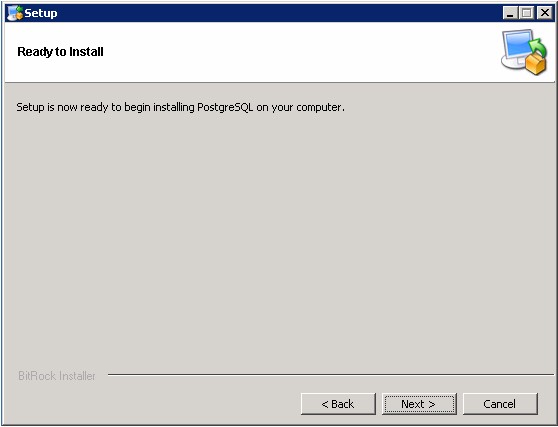
- Now setup is ready to start, simply select next button to install postgresql.
- Installation started.
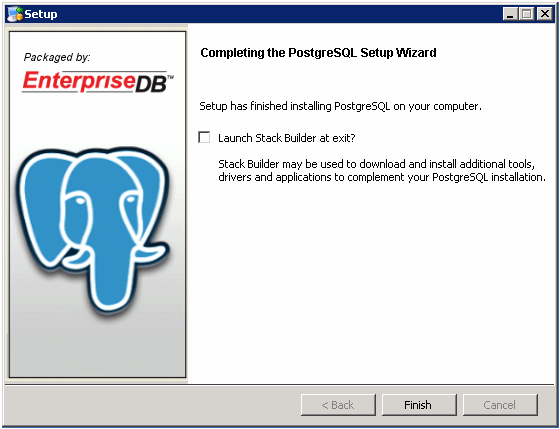
- On completion of installation system will open the above window. Here user will simply uncheck “Launch Stack Builder at exit?” checkbox and select Finish button.
ADempiereERP Installation
Download link: http://adempiere.svn.sourceforge.net/svnroot/adempiere/trunk
Before moving further you have to set the environment variables.
Setting Environment Variables
- Right click on 'My Computer' and select properties.
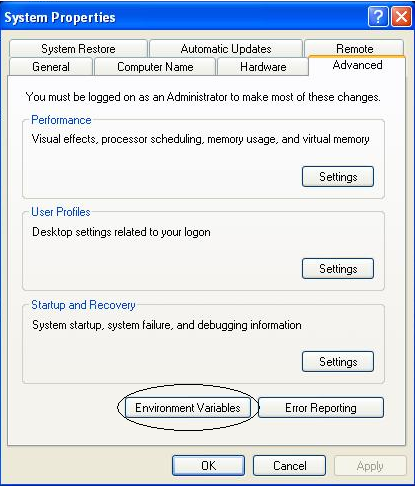
- System will open above window, here user will select ‘Advanced’ tab and will select ‘Environment Variables button.
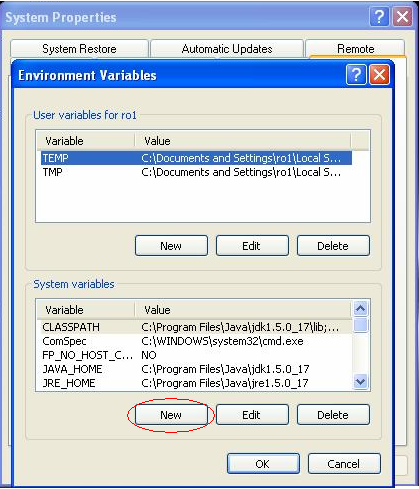
- When user will select environment variable button, 'Environment Variables' form will open. Now user will select new button in the 'System variables' group box.
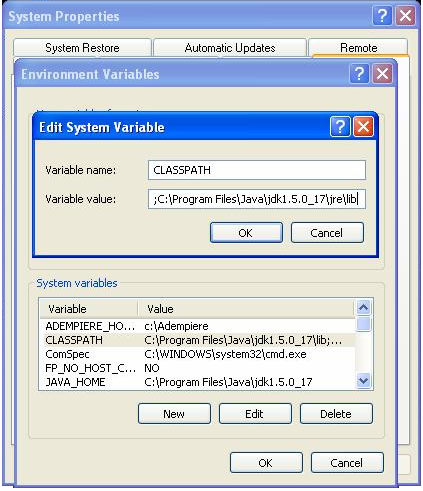
- Add new CLASSPATH variable and update the value '.;C:\Program Files\Java\jdk1.5.0_17\lib;C:\Program Files\Java\jdk1. 5.0_17\jre\lib' as shown in above window.
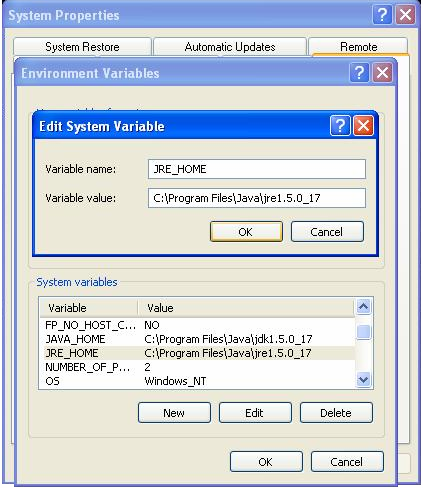
- Add new JRE_HOME variable and enter the value “C:\Program Files\Java\jre1.5.0_17” as shown in above window.
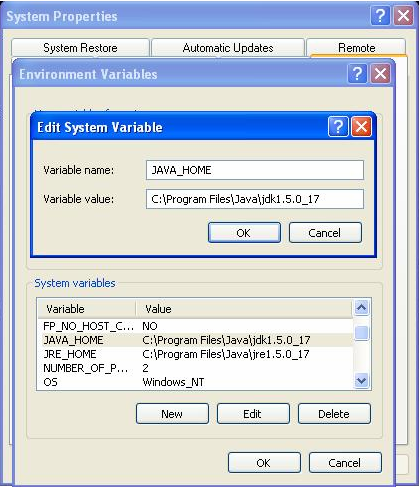
- Add new JAVA_HOME variable and enter the value “C:\Program Files\Java\jdk1.5.0_17” as shown in above window.
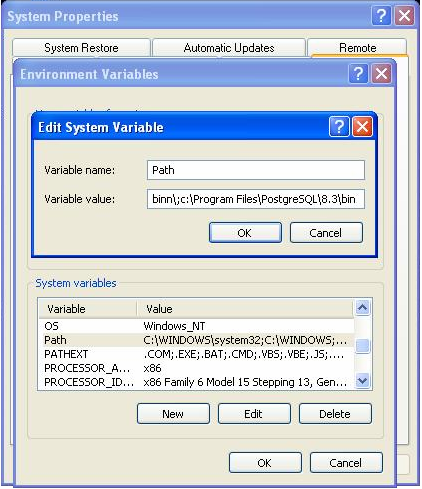
- Edit 'Path' variable and enter the value at the end of the string ';C:\Program Files\Java\jdk1.5.0_17\bin;c:\Program Files\PostgreSQL\8.3\bin' as shown in above window.
- After setting up environment variables user will start postgreSQL service from Start>Programs>PostgreSQL>Start service. Now user will run the script/file 'RUN_build.bat' from Adempiere/utils_dev/RUN_build.bat. This process will create installer files in the 'Adempiere/adempiere' folder.
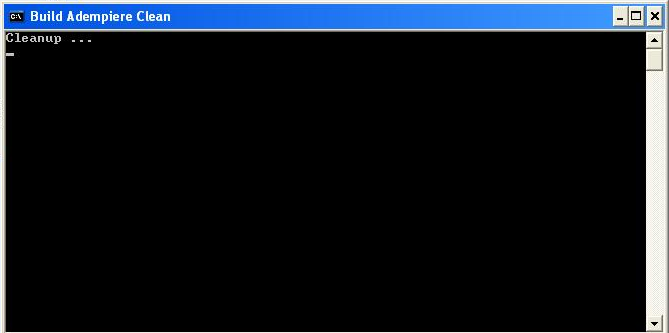
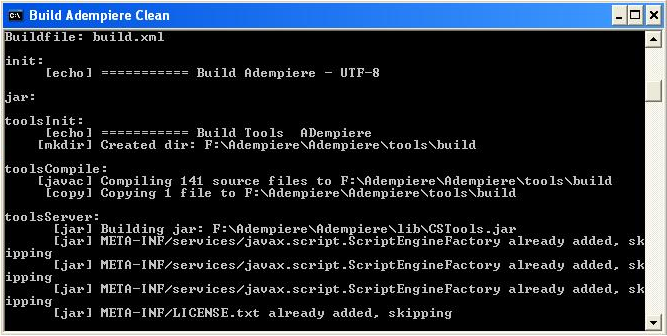
- Now run the build script Adempiere/utils_dev/RUN_build.bat. Console window will open and show the build process activities.
- When the system will complete the build process it will terminate the console automatically or prompt (press any key to continue) and following files will be added to the Adempiere/install directory.
Adempiere.tar.gz – gzipped tar for linux installation
Adempiere.tar.gz.MD5 – md5 checksum for the gzipped tar file
Adempiere.zip – zipped file for windows installation
Adempiere.zip.MD5 – md5 checksum for the zipped file.
- You can use gzipped, tar or zipped file in any environment by using the appropriate decompressing tool.
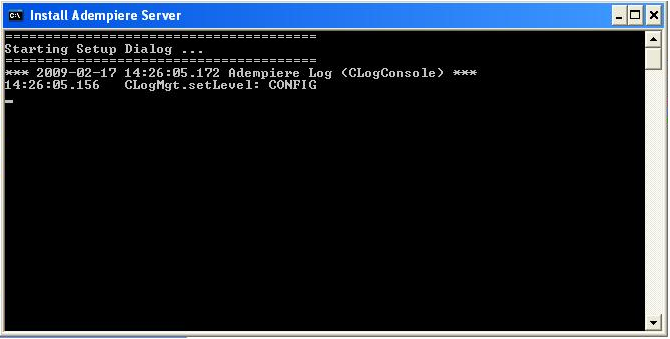
- Now Uncompress Adempiere.tar.gz or Adempiere.zip to your directory for example 'C:\' and run the 'C:\Adempiere\RUN_Setup.bat' to setup the Adempiere application server.
- When run the setup script the above console window will open to show the server installation progress.
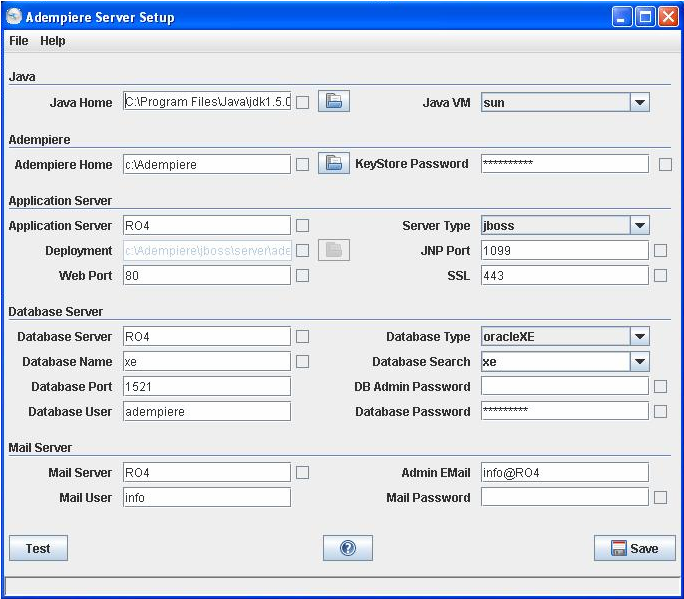
- The following server setup window will open for server configuration.
- System will open the above window for server configuration.
- Here enter 'localhost' in the 'Database Server' field, select 'postgresql' in the 'Database Type' field and enter 'postgres' in 'DB Admin Password' field and press test button.
